Kumamoto Oysters with Jeweled Vegetable Mignonette on Shiso Leaves

Kumamoto Oysters with Jeweled Vegetable Mignonette on Shiso Leaves
For Valentine’s Day this year, let’s start off with savory, salty, plump and juicy Kumamoto oysters and refreshingly bubbly champagne, before indulging in all of that ubiquitous chocolate. Not that there is anything wrong with chocolate as your encore. This oyster appetizer is a delicious and healthfully balancing way to prime the body’s digestive pump with some blood sugar stabilizing seafood protein and crunchy vegetables.
You will be amazed at the difference the type of oyster can make. I never really liked oysters until I tasted Kumamotos from the Pacific North West. I had only had the East Coast variety - flat, slimy, briny. They are actually a different genus than the Pacific North-West. Kumamotos are the perfect bite size, pink rather than grey, plump rather than flat, sweet and creamy, with gorgeously ruffled shells that can double as ornaments. And no cocktail sauce shall ever clutter the sweetness of these precious gems for me - only mignonette; Moscatel or sherry vinegar with minced shallot and pepper.
When I prepare Oysters Mignonette for myself or loved ones, I add another level of visual, textural, flavorful and nourishing panache: a little smorgasbord of toppings for the chooser’s whim. Finely minced cucumber, radish, chives, and celery freshen the experience and add a pleasing crunch to augment all that creaminess. Of course the crisp splash of champagne, in between bites, lends the perfect exuberance to this elegant repast.

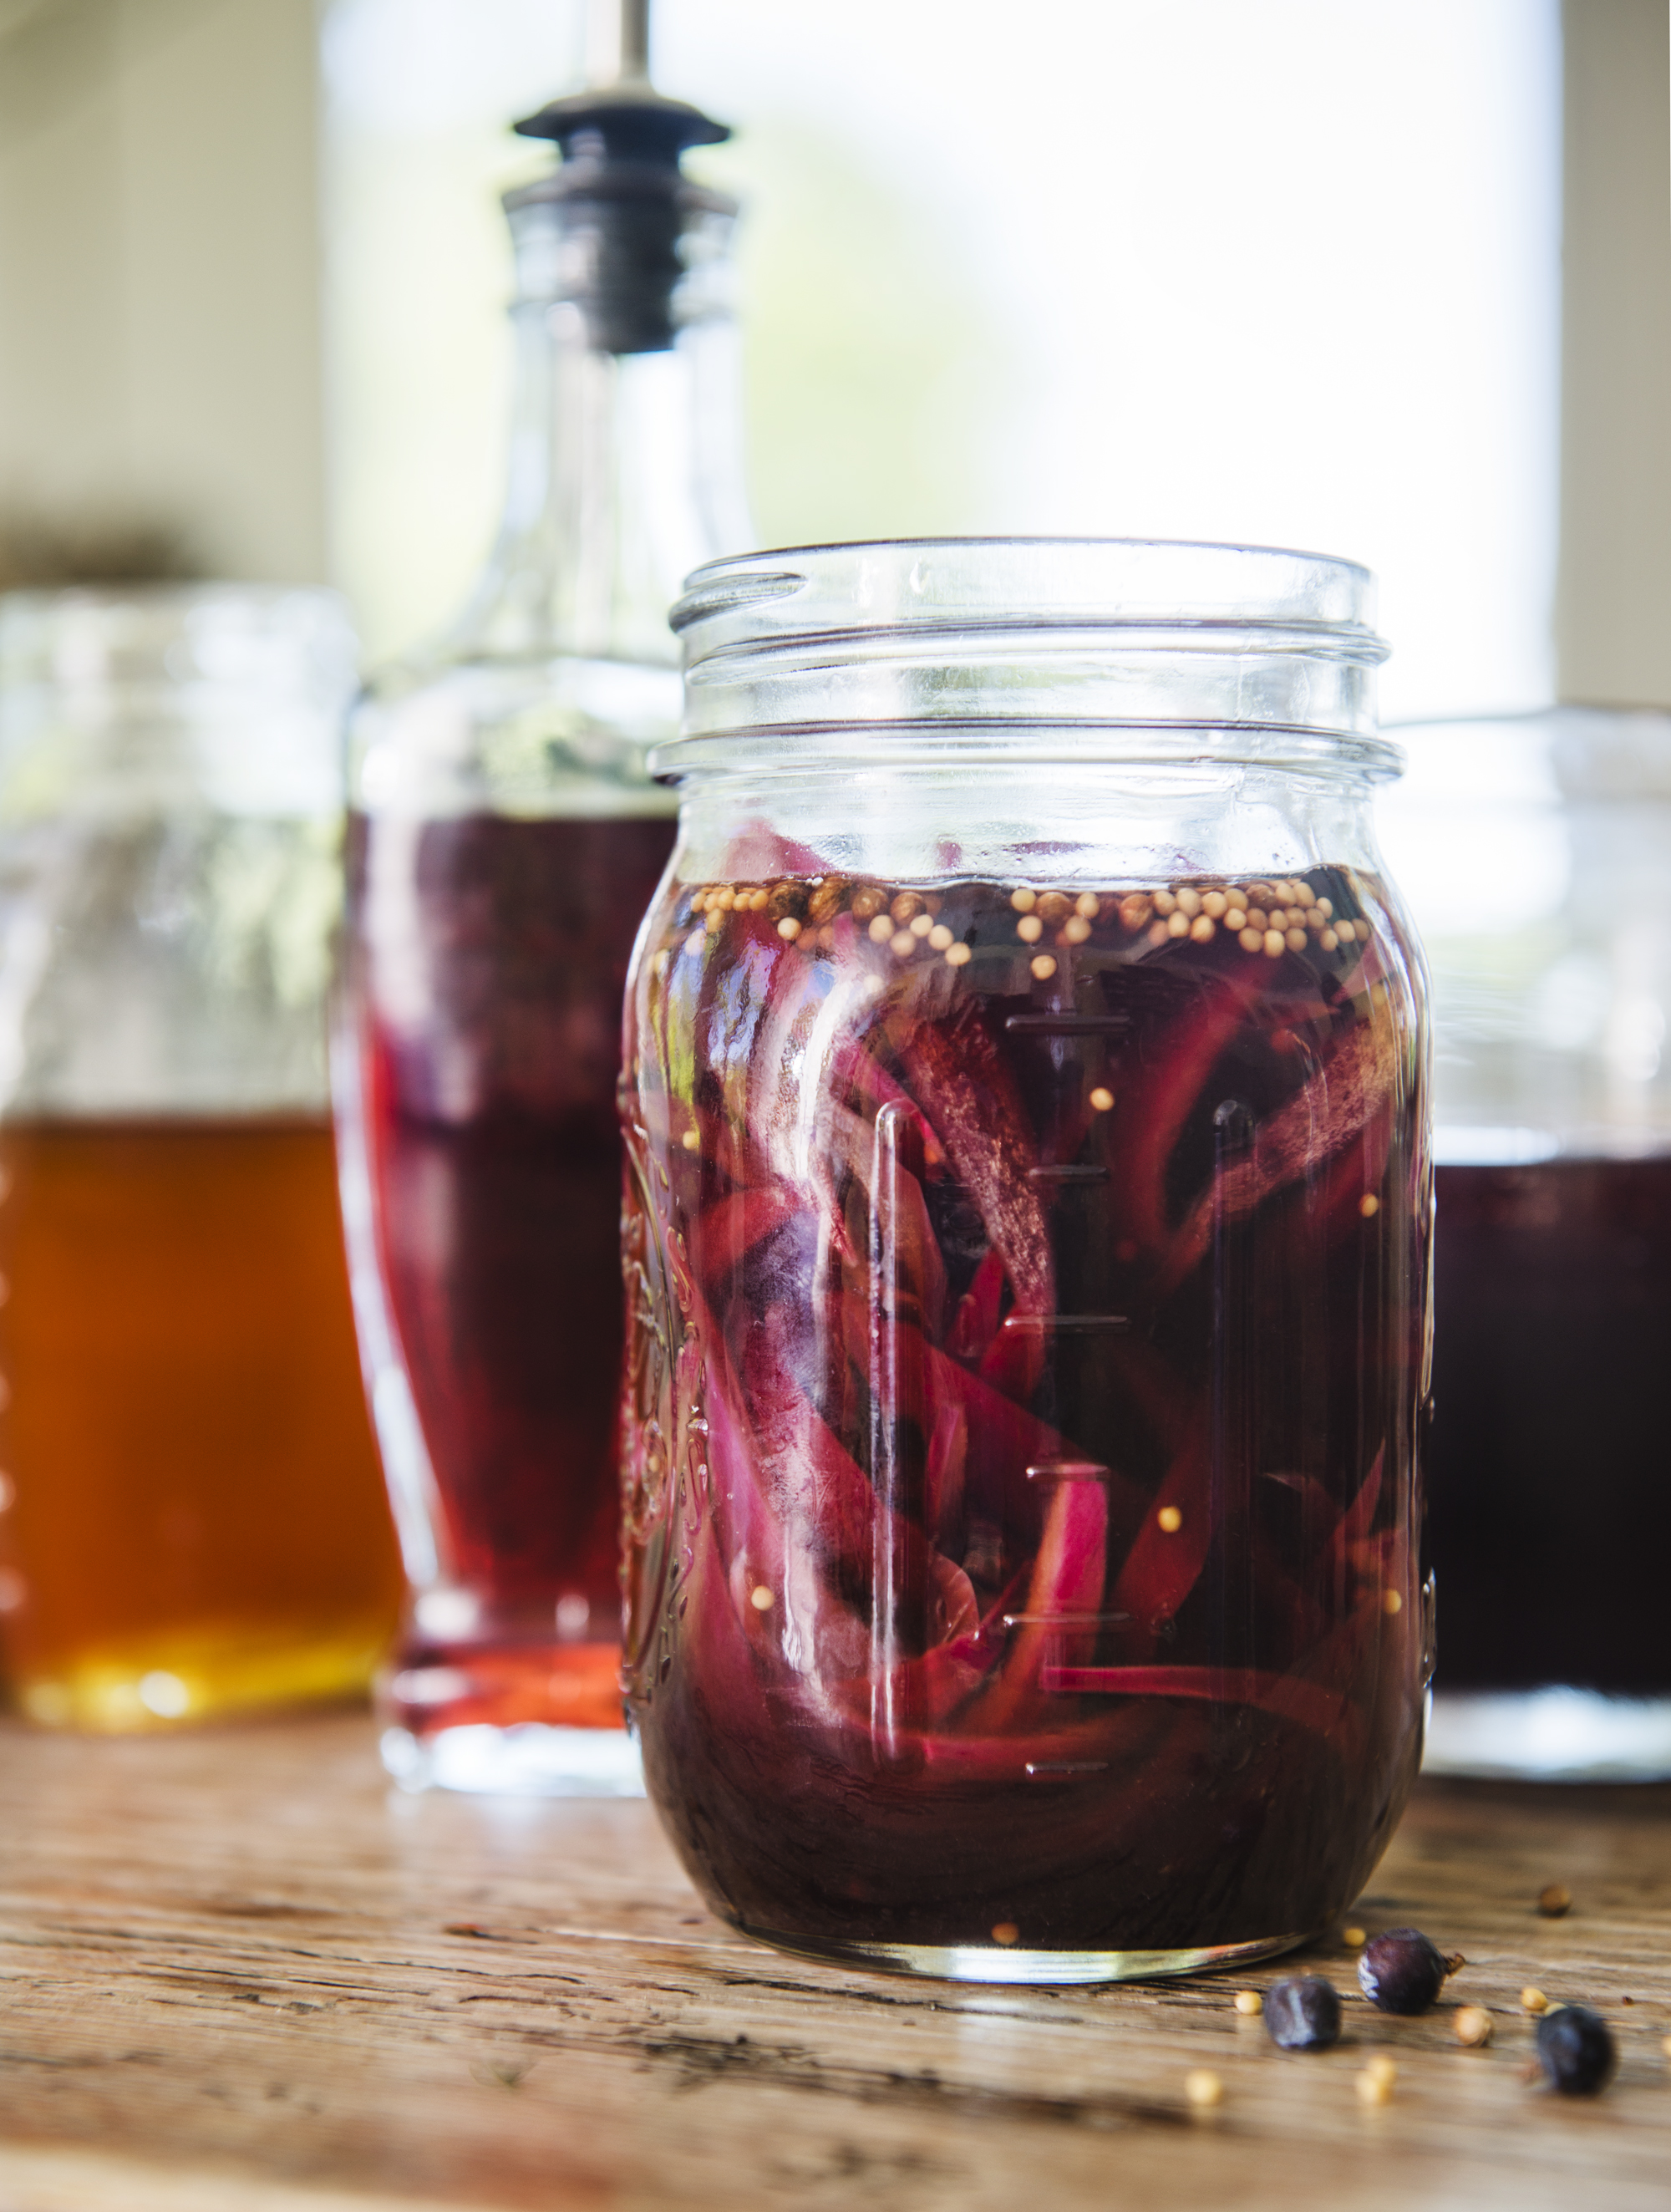
Shallots
Kumamoto Oysters with Mignonette Sauce
Mignonette Recipe
Ingredients
Moscatel or Sherry Wine Vinegar (or any wine vinegar you like)
Minced Shallot
Optional minced vegetables and herbs – cucumber, radish, celery, chive
Directions
Mix the ingredients together in the proportion that tastes and looks good to you.
Add a dash of black, white or red ground pepper if you like.
Drizzle sauce over fresh oysters and enjoy with Champagne.

Red Radishes

Persian (Mini) Cucumbers
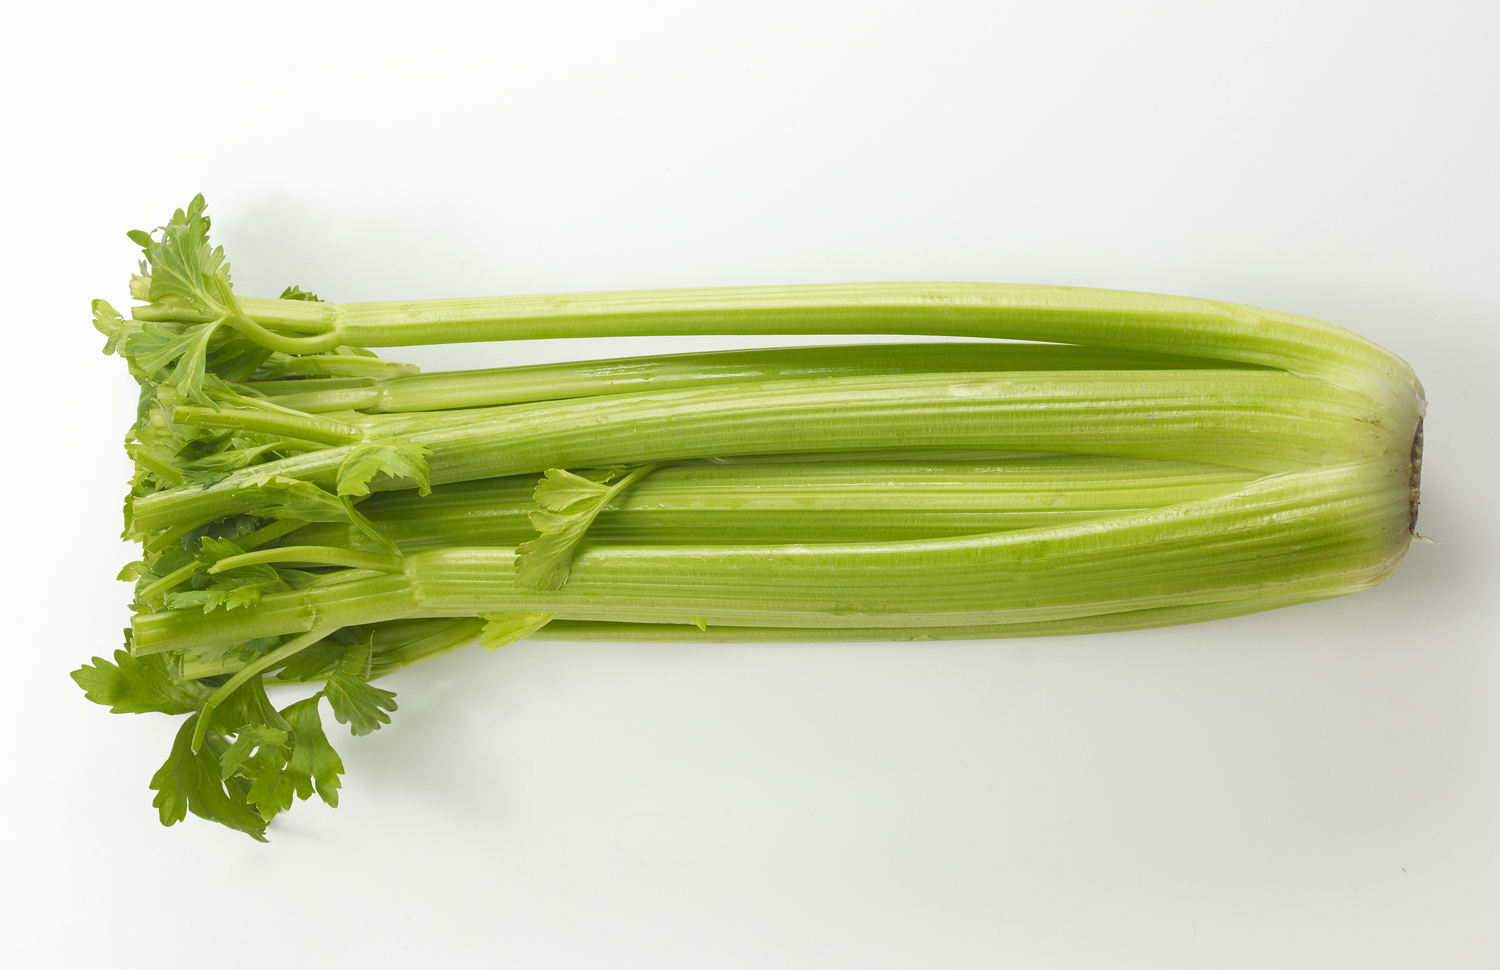
Celery